Oufu Optical Fiber Cable Co.,Ltd
Address: Shenyang, Liaoning, China
Contact person: Manager Zhang
Phone: 400-964-1314
Mobile phone: +86 13904053308
【whatsapp && wechat】
2024-07-31 1427

Step 1: Preparation
Before diving into the splicing process, proper preparation is key. Gather all necessary tools and materials, including:
Fiber optic splicing machine (fusion splicer)
Fiber optic stripper
Fiber optic cleanerwww.adsscable.cn
Precision fiber cleavers
Fiber optic alignment sleeves or V-grooves
Protective heat shrink tubing
Isopropyl alcohol and lint-free wipes for cleaning
Fiber optic connector kits (if needed)
Ensure that your workspace is clean, dust-free, and well-lit to avoid contamination or damage to the delicate fibers.
Step 2: Stripping the Jacket
Using the fiber optic stripper, carefully remove the outer jacket of the fiber optic cable, exposing the buffer tube. Be mindful not to damage the fiber inside. Cut the buffer tube at a suitable length, typically a few inches beyond the point where splicing will occur.
Step 3: Exposing the Fiber
Carefully strip back the buffer coating to expose the bare fiber. This step requires precision and care to avoid nicking or scratching the fiber, which can lead to signal loss. Use the fiber optic stripper according to the manufacturer's instructions, and inspect the fiber for any imperfections.
www.adsscable.cn
Step 4: Cleaning the Fiber
Clean the exposed fiber thoroughly using isopropyl alcohol and lint-free wipes. Any residue, dust, or debris on the fiber can cause splicing issues or increase light loss. Repeat the cleaning process several times to ensure the fiber is completely clean.
Step 5: Cutting the Fiber
With the precision fiber cleavers, carefully cut the fiber ends at a 90-degree angle. This step is crucial for achieving a good splice, as uneven or angled cuts can result in poor alignment and increased loss. Make sure to use a steady hand and follow the cleaver's instructions for optimal results.
Step 6: Placing the Fibers into the Splicer
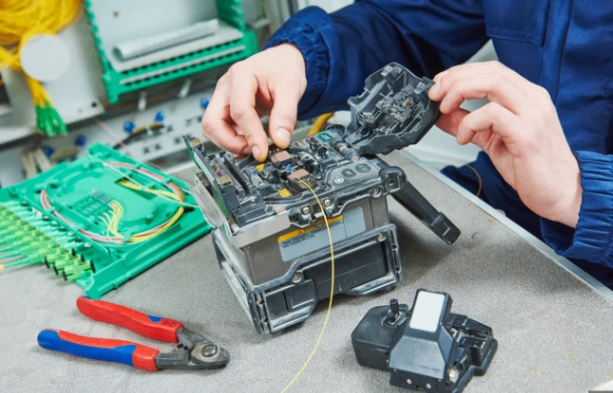
Place the cut fiber ends into the fusion splicer's alignment sleeves or V-grooves. The splicer will automatically align the fibers using advanced optics and precision motors, ensuring they are perfectly positioned for splicing.
Step 7: Splicing the Fibers
Activate the fusion splicer to initiate the splicing process. The splicer will emit a brief arc of electricity, fusing the two fibers together. The splicing time can vary depending on the splicer model and the type of fiber being spliced.
Step 8: Inspecting the Splice
Once the splicing is complete, inspect the splice using the splicer's built-in microscope or a separate inspection tool. Look for any gaps, bubbles, or imperfections in the splice. A good splice should be smooth, with minimal loss of light.
Step 9: Applying Protective Heat Shrink Tubing
To protect the splice and ensure its longevity, apply protective heat shrink tubing. Slide the tubing over the spliced area, then use a heat gun or other heat source to shrink the tubing, securing it in place.
Step 10: Testing and Documentation
Finally, test the spliced fiber cable to ensure it is functioning properly and meets the required specifications. Use an optical time domain reflectometer (OTDR) or other testing equipment to measure loss and identify any potential issues. Document the splicing process, including any notes on challenges encountered and solutions implemented.
By following these detailed steps, you can confidently master the art of splicing fiber optic cable. With practice and attention to detail, you'll be able to perform high-quality splices that support reliable and efficient data transmission.